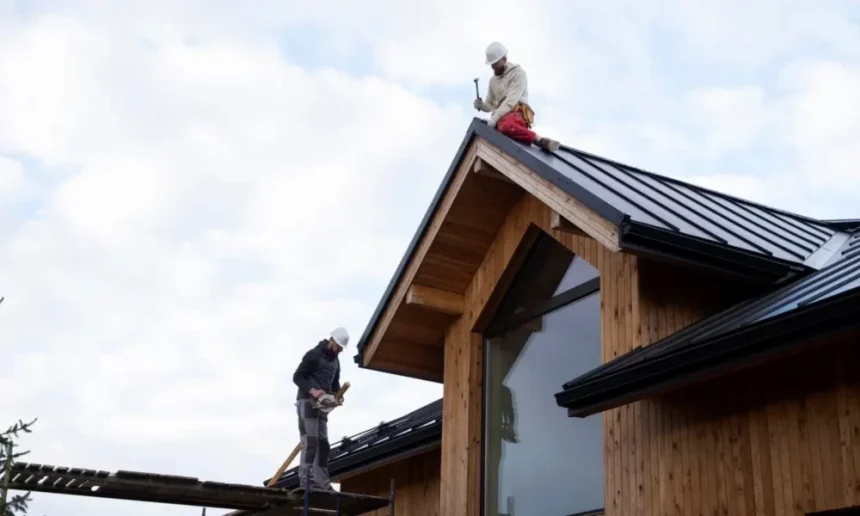
Replacing a roof is a significant investment, and understanding the process can help homeowners feel more confident and prepared. From the initial inspection to the final cleanup, each step in the roof replacement process plays a vital role in ensuring a safe and long-lasting result. Working with a roofing company should feel structured and transparent, giving you insight into timelines, materials, and progress. We will explore what you can typically expect when hiring a roofing company to replace your roof, outlining their key steps and how each phase impacts your home.
- Initial Roof Inspection and Consultation
Before any work begins, the roofing contractor typically schedules an on-site inspection. This visit allows them to assess the current condition of your roof and determine whether a full replacement is necessary. They’ll check for signs of aging, water damage, shingle loss, and structural concerns such as sagging or rot. During the inspection, the representative may take photos or notes to use in their assessment and quote. Following this, you’ll receive a consultation where they explain the findings and walk you through your options.
This is the time to ask questions about what materials they recommend, how long the job might take, and whether you’ll need permits or HOA approvals. The consultation should also include a detailed written estimate, which outlines costs for labor, materials, and any additional services like gutter replacement or ventilation upgrades. Transparency at this stage sets the tone for the entire project and helps establish trust between you and the company.
2. Preparation and Scheduling the Project
Once you agree to move forward, the roofing company will begin the preparation phase. This includes ordering the necessary materials—such as underlayment, flashing, and shingles—and scheduling the job. The company should inform you of the projected start date and the project’s length. Weather conditions can impact the timeline, so that they may build flexibility for potential delays. They’ll also handle administrative tasks at this stage, such as obtaining permits or notifying your HOA if required.
Some companies will provide a prep checklist for homeowners, including moving patio furniture, securing pets indoors, or parking vehicles away from the house to give the crew full access. You’ll also be briefed on what to expect once work begins, including noise levels, dumpster delivery, and whether you need to vacate your home for safety reasons. This phase helps ensure everything is lined up and the installation goes smoothly.
3. Removal of the Old Roofing Material
On the first day of the project, the roofing crew will begin by removing your old roof. This is one of the most labor-intensive parts of the process and requires a crew that works quickly but carefully. They’ll start by tearing off shingles, underlayment, and old flashing, disposing of all debris in a dumpster brought to the site. During this phase, it’s normal for your property to look messy, but a reputable company will take measures to protect your landscaping and clean as they go. The removal process allows the roof deck underneath to be fully inspected. Any rotted, warped, or otherwise damaged wood will be replaced before new materials are installed. This is an important quality check—replacing a roof on top of a damaged structure can lead to future problems. The company should communicate clearly if it uncovers additional damage that will increase the scope or cost of the project.
4. Installation of the New Roofing System
The new roofing system will be installed once the surface is cleared and prepared. This begins with laying down underlayment, which acts as a moisture barrier. Depending on your region and local building codes, an ice and water shield may also be applied in vulnerable areas. Then comes flashing around chimneys, vents, and valleys to direct water away from critical joints. Finally, shingles or another chosen roofing material are applied, usually starting at the base of the roof and working upward.
During installation, proper ventilation is also addressed, and components like ridge vents may be added to improve airflow in your attic. The crew will work methodically, ensuring each layer is aligned and secured correctly. This step can take one to several days, depending on the size of your home, roof pitch, and weather. A reliable company will update you regularly on progress and notify you immediately if anything unexpected occurs.
A roof replacement is more than just swapping out old shingles for new ones—it’s a multi-step process that involves inspection, preparation, precision, and cleanup. Working with a reliable roofing company means you can expect open communication, careful workmanship, and a clean, safe result at the end of the project. Each phase should be handled with care and attention to detail, from the first consultation to the last nail collected from your yard. Understanding what lies ahead allows you to plan appropriately, ask the right questions, and feel confident about investing in a new roof.


